Install Home Assistant
Written on Tuesday, 9 February 2021 at 20:21. Last Modified on Tuesday, 9 November 2021 at 20:04.
Tags: Home Assistant.
I’m a huge fan of Home Assistant. I use it at home 😉 to be less dependent on IoT clouds. I also use it to automate small energy saving things. Like turning the TV mood light on when something is playing. Or cutting power to my studio speakers when no music is playing 😎.
I’ve installed it via Docker on my Intel NUC that’s running Debian. Here are a few suggestions to do after or before your Home Assistant installation.
Use a fixed ip
Having a fixed ip is really handy:
- for setting up port forwarding if you want to make your Home Assistant (for free) reachable from the internet
- to find Home Assistant on your internal network
The preferable way is to assign this ip address via your router based on its mac address. That way, you don’t need any configuration on your Home Assistant host. It will just always get the same ip address.
If this isn’t possible, because you use a Telenet router like me, then you will have to do it manually. Best to Google Debian x set manual ip address 😉.
Install File Editor
The yaml configuration files are less and less important. However it’s still is used to configure some things, and the File Editor (which is an official add-on) makes editing just simpler.
Use MariaDB if running on a Raspberry Pi
By default history and log book stuff is saved in an SQLite database. My experience is that this is actually quite slow on a Raspberry Pi. Therefore I advice adding the MariaDB. I always install MariaDB.
Head to your Supervisor’s Add-on Store and install MariaDB. Setup & Configuration is explained in the Documentation tab.
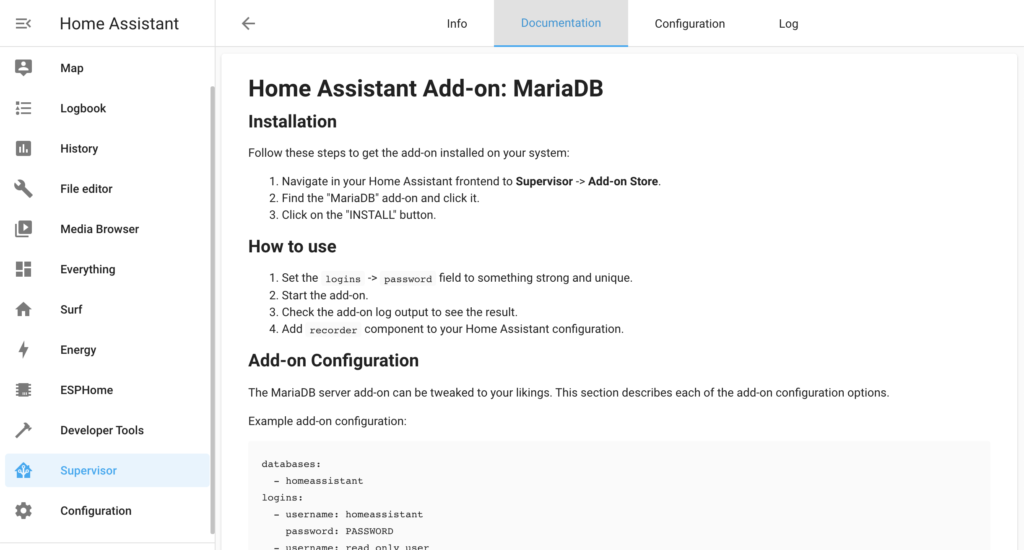
The documentation tab in the MariaDB Add-on.
Get the weatherforecast
I’m using weather data from OpenWeather. If you don’t have one, create an account first. Now that you have created an account, you’ll need to generate an api key. I’ve named it Home Assistant. Copy the key and go to your Home Assistant!
In Home Assistant, go to Configuration > Integrations and create an OpenWeatherMap integration.
The lattitude & longitude of your home should be prefilled. Let’s copy that api key and fill in the name.
The name is important as it will be used in the sensor naming. I’ve named it ‘Home’. If you want to get weather information for your work or your holiday house, name it accordingly 🙃.
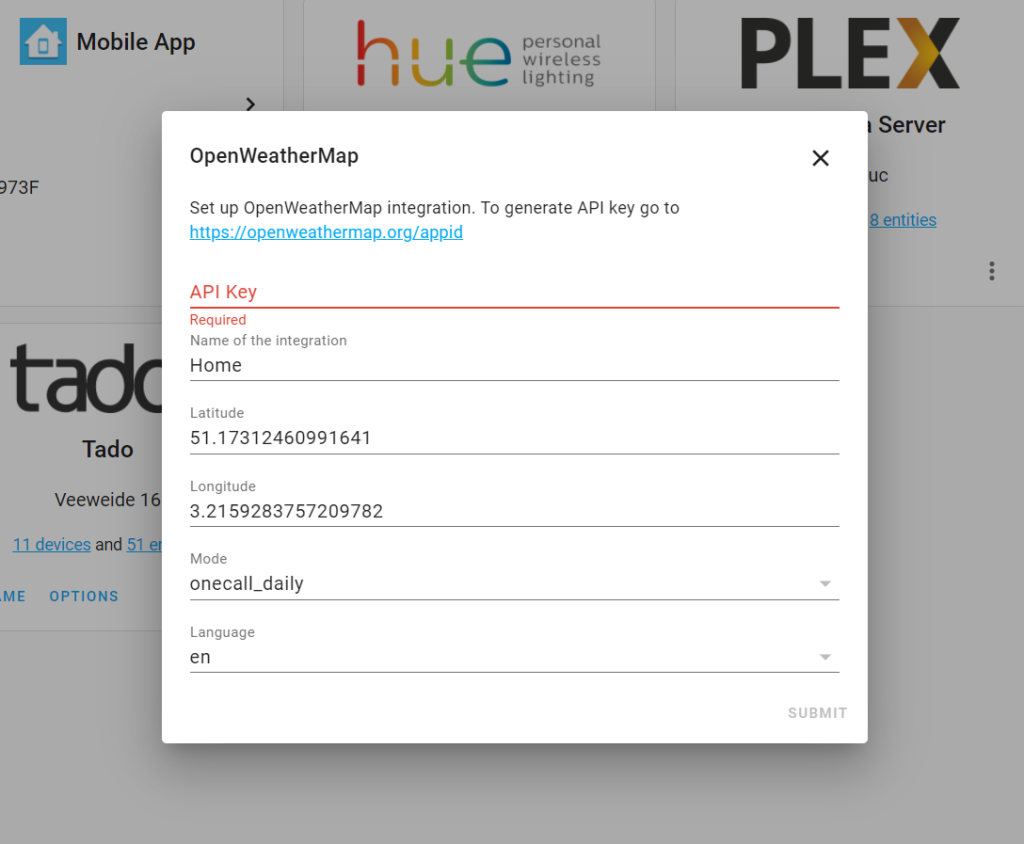
Add the OpenWeatherMap integration for your Home
One thing I like to do is giving the sensor_home_temperature a meaningful name. I usually name it ‘Outside’.
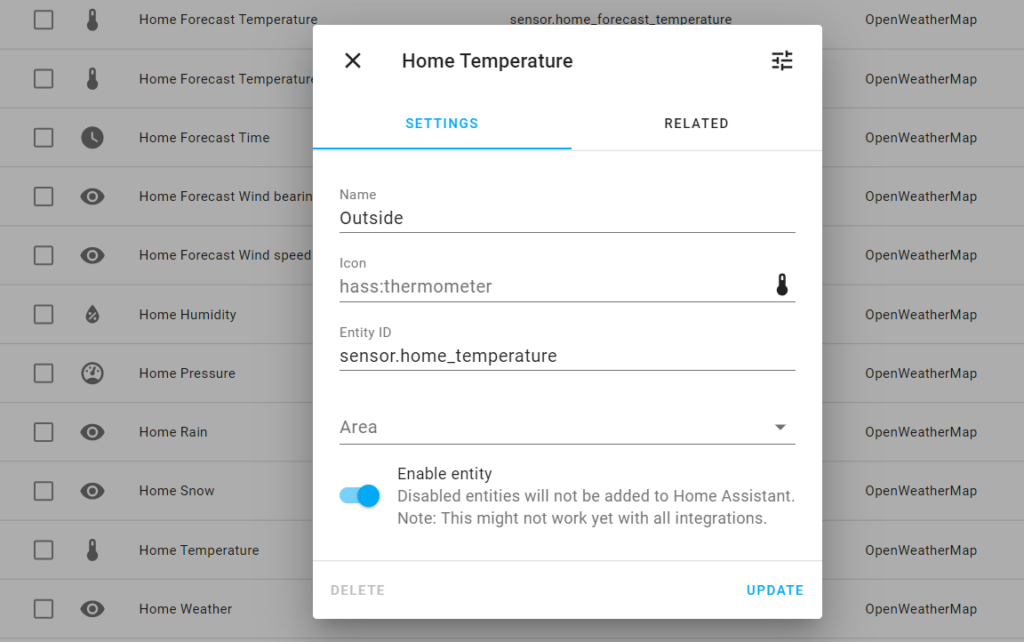
Give the temperature sensor a meaningful name.
Use the Home Assistant app
The app is not only just a convenient way to see your Home Assistant dashboard. It also uploads sensor info about your smartphone. Like battery information or location. This in turn you could use for your automations or to know who’s home or at work.